Working with artificial light scares many photographers, and I don’t really understand why. Sure there are some unknowns at first, but suck it up and figure it out…if I did, so can you. It can be a little intimidating initially, but once you start to learn how it works there are tremendous opportunities to experiment and play. You can get started into studio lighting as simply as an off camera flash and a simple radio trigger, and grow from there. There are many ways to modify the light for a wide variety of different looks.
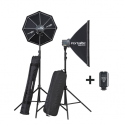
Battery powered strobes are the way I got started, and depending on what you are photographing, they may be all you ever need. I found that for portrait work, they did not recycle as quickly as I would like, so I stepped up to a set of Profoto Compact 600R’s in 2010. The primary difference between battery powered flash units and studio strobes is the size and types of modifiers. If I were shooting as a hobbyist, I would be fine with DIY light modifiers and their eccentricities. But if you are photographing someone for work, it helps to have a system of lights and modifiers that you can quickly adjust to create the look you desire. Battery powered lights take longer to recycle, and get slower as the battery wears down, while studio strobes plug into the wall and are very responsive.
There are more and more modifiers being made for portable battery powered flashes, but studio strobes still have the advantage when out comes to the range of selection when it comes to modifiers. In addition they are created from the ground up to work with a vast array of modifiers, so they are typically quick to change and easy to adjust.
I would encourage every photographer to get a simple flash lighting setup and start playing. There are so many different things you can play with in a typical home. Photograph different glass objects, or jewelry or liquor/wine bottles, vases, bookshelves, flowers, etc. The only limit is your imagination. I have seen lovely B&W photos of eggs, flatware, household tools…you name it.
The bare minimum kit need only have a flash/strobe (hopefully with some ability to control the output), a way to hold it off the camera, and a means of making it fire when you press the shutter. The most common way these days is a simple radio trigger/receiver combo that will make the flash fire every time you take a picture. There are many additional pieces you can add over time, but the basics are pretty simple and inexpensive.
If you need help setting up your initial kit, or want to expand your skills reach out to me and I am happy to help.
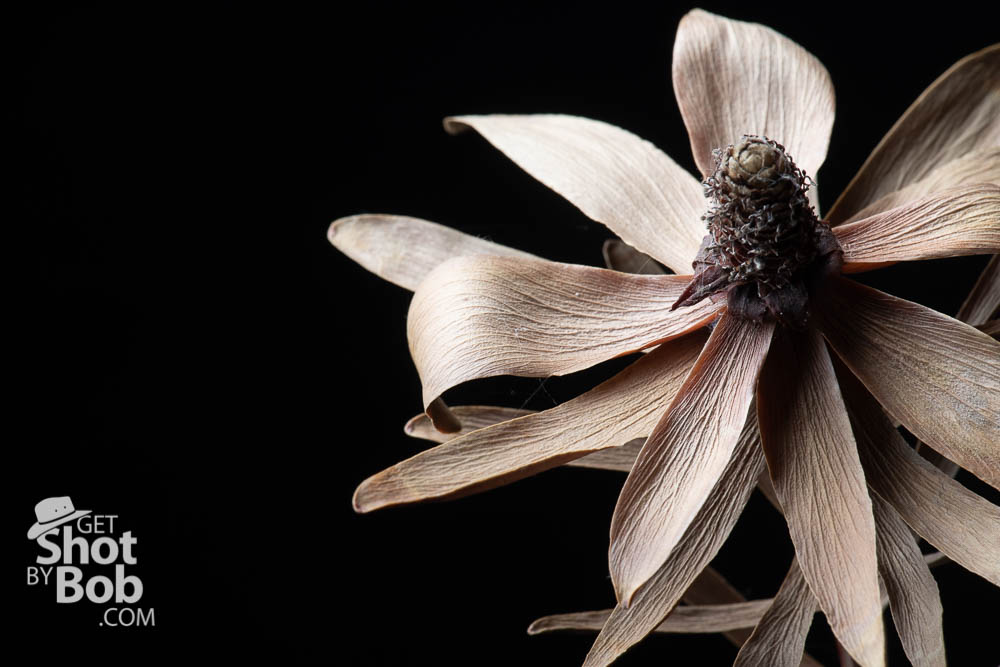
The image below was shot with a single flash shot through a simple diffuser to soften the shadows and even out the light. It doesn’t have to get complicated!
thanks Bob….i needed the push here. I bought a Nikon strobe and tried a couple of times without the result i wanted. I was attempting to use for fill flash at sunset similar to the shot of you at Grand Haven. This gives me the motivation to read up and try again.